The Media strip Section
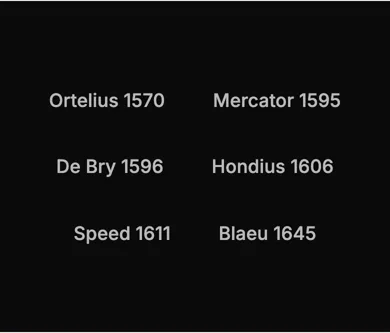
A thin band of logos, badges or names, such as the press that has featured you, the shops that stock you or the makers you work with.
Best for: Showing who trusts you, in one quiet line.

On a phone
Adding it
Turn on the Editor, click Add new section here, and choose Media strip under Section Builder. It starts with sample words and pictures; replace them with your own. Click Modify on the section's toolbar to open its drawer. The steps, with pictures, are in Building Pages with the Section Builder.
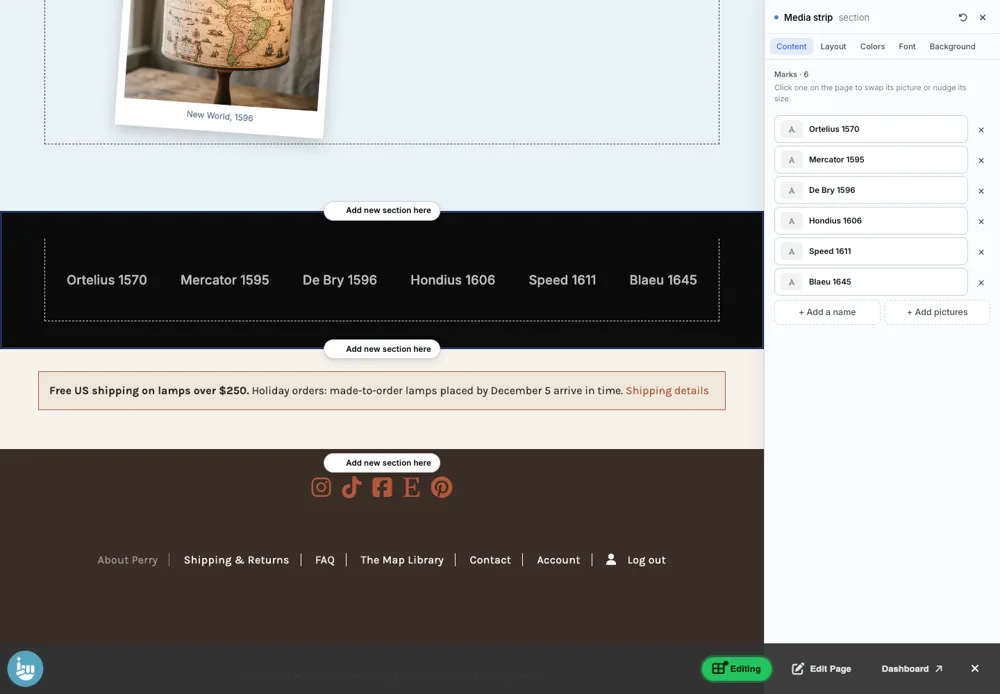
The Content tab
- Marks: the list of logos or names. Click one on the page to swap its picture or nudge its size.
- + Add a name adds a word mark; + Add pictures adds logos from your library.
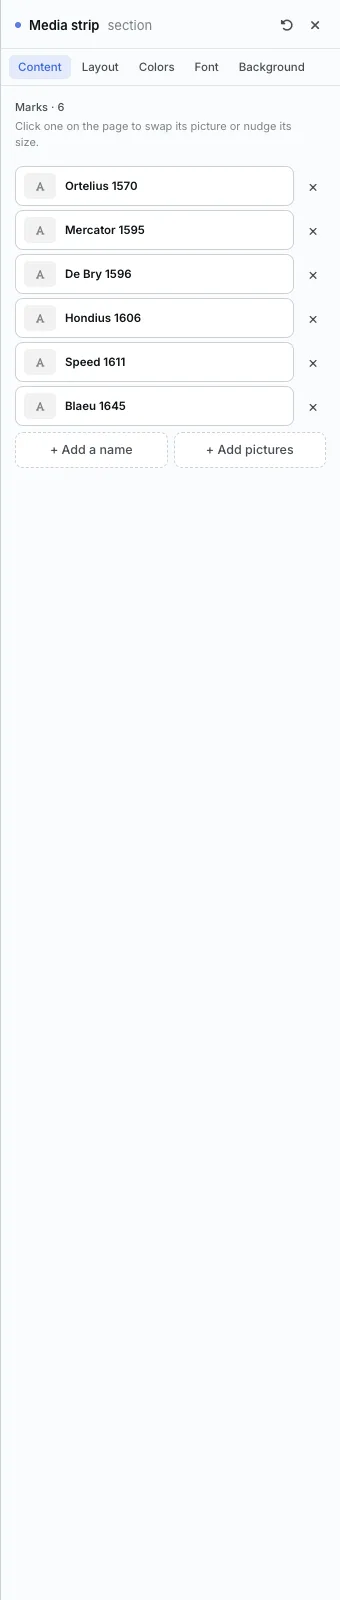
The Layout tab
- Flow: One row, Wrapped, or Scrolling (a strip that drifts sideways).
- Item shape: Marks keep their own width at one shared height. Tiles all fill the same cell.
- Spacing: Compact, Comfortable or Spacious, or set Mark height and Gap yourself.
- Treatment: As they are, Muted or One colour. One shared treatment makes logos that do not match look like a set.
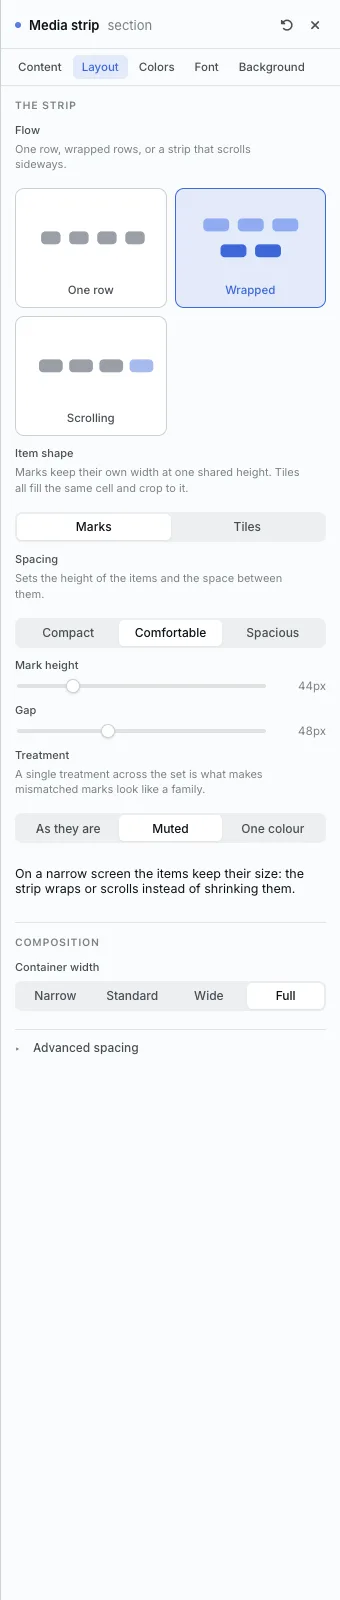
The settings every section shares are explained in Section Colors, Fonts and Backgrounds. Most sections also have Container width, Density and Advanced spacing.
Media strip also has the Colors, Font and Background tabs.
Tips
- Muted or One colour suits a strip of logos in different colors.
All Section Builder sections · Questions? Email support@indiemade.com.