Adding Your Categories to Your Main Menu
Your categories can sit directly inside your site's main menu, alongside Home, About, and your other pages. They match the rest of the navigation, and opening one reveals its category choices in a roomy menu designed for desktop and mobile.
Open Main Menu Categories settings
- Go to Dashboard → Categories.
- Click the gear above the category tree.
- Scroll to Main Menu Categories.
You can also visit a category page while signed in, click Settings in the bottom toolbar, and find the same controls in the Display tab.
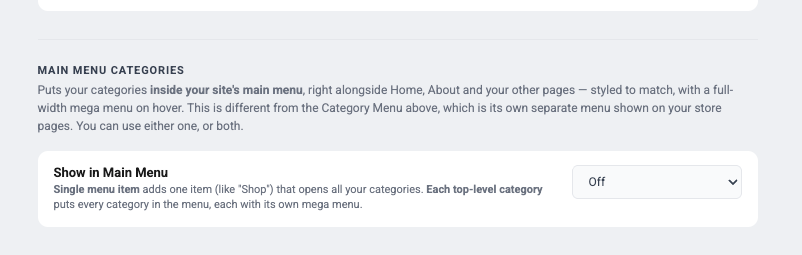
Choose how categories appear
Show in Main Menu has three choices:
- Off leaves your main menu unchanged.
- Single menu item adds one item—such as Shop, Categories, or Browse—that opens all your categories.
- Each top-level category puts every main category in the navigation as its own item. Opening one reveals its subcategories.
If you have many top-level categories, Single menu item usually keeps the main navigation clearer.
Name and position a single menu item
When you choose Single menu item, enter the shopper-facing name in Menu item label. If you leave it blank, IndieMade uses Shop.
Use Position in menu to place the category item before or after your regular page links, then save your settings.
What shoppers see
On a computer, pointing to the item opens the categories across the width of the site. On a phone, shoppers tap the item to open the category list. Some designs use a slide-in navigation panel; there, the categories fill the panel so they remain easy to scan.
If categories do not appear
- In Dashboard → Categories, make sure each category is Public.
- If Hide Empty Categories is on, add a published product to the category or turn that setting off.
- Only top-level categories become individual main-menu items when you choose Each top-level category.
For the separate category navigation area, see Showing a Category Menu in Your Store.